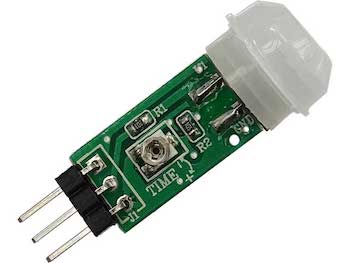
秋月電子で売られている人感センサーを三種類、試した。
今回、3Vという要件の素に試した。
SB412Aはしばしば見かけるが、3Vじゃ動かなかった。注に(安定化されている)とあり、通常は0.5Vくらいの差は必要だからさもありなん。
パナソニックのEKMC1601111は3Vで動いた。
しかし、アウト部分に10Kオーム程度のプルダウン抵抗(OUTとGNDの間)が必要だった。説明書見ても分かりづらいわ。
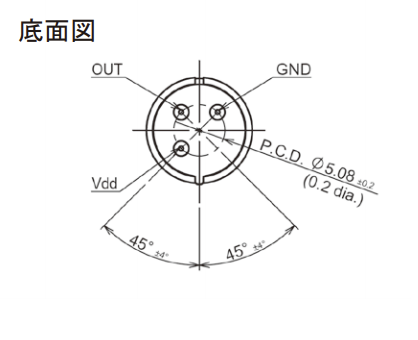
日本セラミックのPSUP7C-02-NCL-16-1は負論理で動く。
試したArduinoのサンプルコードをおいておく。
#define LED 11
#define SENS 2 // 2 or 3 pin

volatile boolean phase = false;

void detect(){
  if (digitalRead(SENS) == 0) {
    phase = true;
  }else{
    phase = false;
  }
}

void setup() {
  // put your setup code here, to run once:
  Serial.begin(9600);
  pinMode(LED, OUTPUT);
  pinMode(SENS, INPUT);
  delay(5000);
  attachInterrupt(digitalPinToInterrupt(SENS), detect, CHANGE);
}

void loop() {
  // put your main code here, to run repeatedly:
  if (phase){
    digitalWrite(LED,1);
  }else{
    digitalWrite(LED,0);
  }
  delay(1000);
}
安くて扱い安いのはパナソニックかな。好みですが。
それをmicrro:bitでテストしたプログラム。ポート番号の指定の仕方がむつかしい。
let _switch = 0
basic.forever(() => {
    _switch = pins.digitalReadPin(DigitalPin.P1);
    if (_switch == 1) {
        basic.showIcon(IconNames.Confused)
    } else {
        basic.clearScreen()
    }

    basic.pause(1000)
})
P0はサウンド用に残しておく